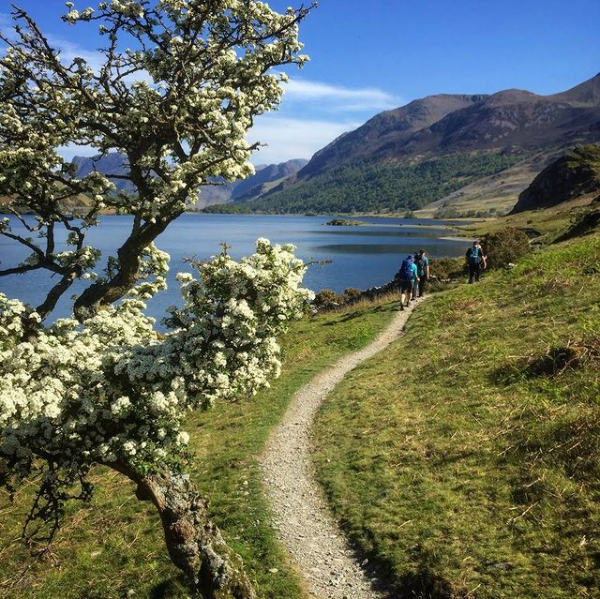
Most people like to stick to familiar trails and areas. However, some basic navigational knowledge is necessary for longer hikes or trips off the beaten path. This navigation refers to both skills and tools but these are nothing overly complex or expensive.
Whether you want to prepare for a multi-day hike or gather some potentially life-saving knowledge for the outdoors. I’d like to take you through some basic skills and tools that should get you started with navigation in the great outdoors.
What is Orienteering Exactly?
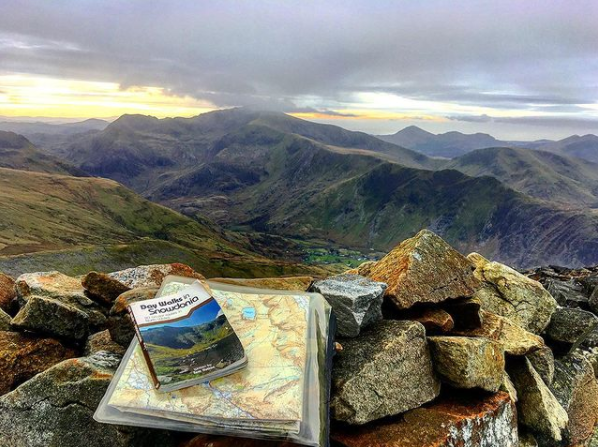
Navigation is all about being able to read specially designed maps that illustrate the trails, vegetation and features of a landscape. This might include rivers, bogs, forests and even fences or buildings. Most OS maps (Ordinance Survey) can feel somewhat intimidating at first. A basic understanding of how to read a map will fix this issue right away. It’s also a surprisingly fun skill to learn in the right circumstances!
Just so you know, OS maps are also drawn with difference scales and these scales are illustrated to give you a sense of size on the map. In other words, everything on the map is obviously smaller than what it represents in real life and so these scales help quantify the size and distance between features. But more on that in a moment.
Who Learns to Navigate?
It should go without saying that all kinds of people learn these skills. Navigation is something that can bring an added sense of confidence for hikers. While I have yet to feel lost on my hikes around Ireland, that’s not to say it cannot happen. Having a basic knowledge of navigation enables me to feel more confident.
Aside from knowing the basics in this article, courses for navigation are available for all levels of experience. Beginner courses will usually take place on marked trails and where you find notable features. Intermediate or advanced courses can take place in remote areas. Hikers need to be more precise with their skills and tools in these areas.
But Why Else Might You Want to Learn to Navigate?
Learning to navigate is fun and something that you can practice in a safe environment. There is generally no danger or pressure during this learning process. You can learn to navigate on a day hike or brief trip into the mountains. Navigation is also quite an interesting skill to learn. It involves a map and compass…and getting outdoors!!
As you may know, many people treat navigation as a sport. It’s true, orienteering is another reason why some people take their navigational skills and tools more seriously. This is an activity that combines navigational skills with the excitement of a race and forbids the use of GPS devices. But you just want to know the basics, right?
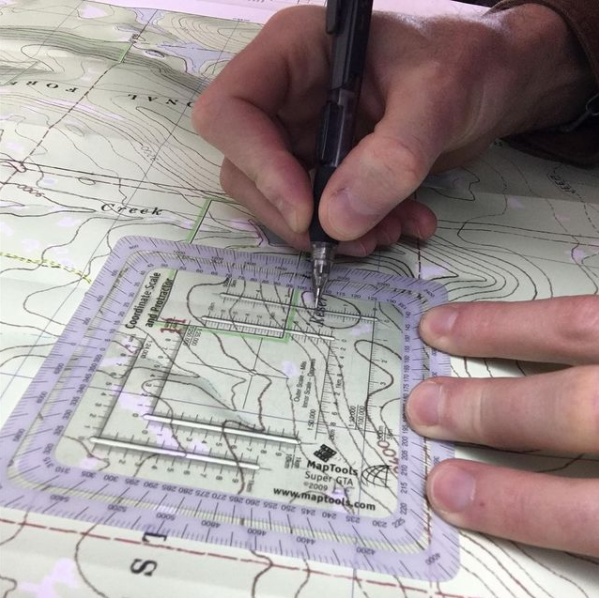
The Basics of Reading and Understanding a Map
OS maps are topographic maps that include the natural features mentioned above. They also include various landmarks such as fences, power lines etc. These maps will outline vegetation boundaries in yellow and other man-made objects in black. As for counter lines, these lines illustrate whether a section of land is either flat or steep.
Relatively flat – Counter lines are far apart
Steeper Terrain – Counter lines are close together.
There are also many symbols and hieroglyphics on OS maps. You should always take a few minutes to understand what they represent. This might sound obvious but many hikers never take time to learn these symbols and hence, cannot read a map.
So take time to familiarize yourself with the map before going out into the wild. Here’s two quick examples to help you understand the scale on OS maps:
1:10,000 – 1cm is 100m on ground
1:7,500 – 1cm on map is 75m on the ground
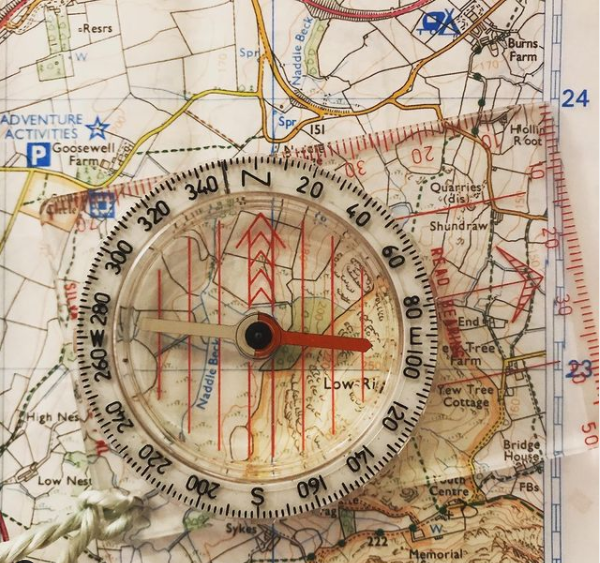
A Basic understanding of the Compass
Your compass should be used to determine the direction of a particular object. This bearing can help determine either your intended direction or specific location. This is important because you need to know what direction to go at all times.
On a way-marked trail, it’s easy to turn left or right at signposts. Without these way-markers, there is often indecision. This is especially the case in a forest, bog and after dark or during conditions with low visibility. Either way, a compass should be inside your backpack at all times.
Most compasses have a magnetic needle. You should notice the red tip of this needle is pointing “magnetic north” which is also shown on the lines of a map.
Here’s the definition of “magnetic north” according to Wikipedia:
“Magnetic north is the direction in which the north end of a compass needle or other freely suspended magnet will point in response to the earth’s magnetic field. It deviates from true north over time and from place to place because the earth’s magnetic poles are not fixed in relation to its axis.” – Wikipedia
But you should also remember the sun can be useful for navigation and knowing which direction you might be facing. In fact, navigation is really about using a combination of your skills and tools to read and understand the environment.
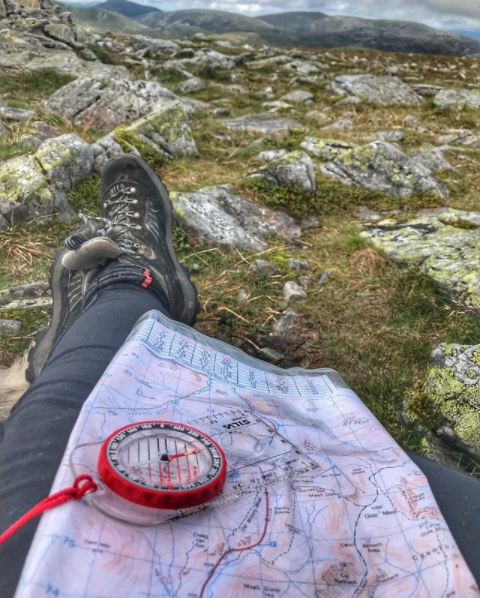
Using the Map and Compass Together
For most beginners, the tricky aspect of using a map and compass comes when trying to hold the map in such a way that it matches the view. This means you need to keep rotating the map so that whatever lies in front of you is also how it appears on the map. It’s a form of “mirroring” that ensures what you see on the map can be seen on the landscape. Now, you might not get that fully so let’s consider the following:
A compass will always point north and you should do the very same with your map. For instance, if standing in the forest facing north, hold the map so that it also faces north. If you turn to face south, rotate your map so that north on your map continues to point north. Make sense? It’s much easier when you put this into action.
One way that I keep track of my location on a map is to hold my thumb on this location. As I hike further in a particular direction, I move my thumb on the map in that same direction. Although this technique is widely used, it takes practice.
With the above in mind, proper navigation requires that you learn how to use a map and compass together. After-all, a map and compass is far more reliable and helps ”triangulate” this location. This means you can consult three different systems during the process.
Here’s a reminder of the main objectives of navigation:
1. To determine your precise location on the map.
2. To identify your next target/destination on the map.
3. To calculate the time and distance to reach this target/destination.
The first of these steps can be assisted through “mental mapping” and this is a simple process that involves observing your surroundings in order to know your location. You then use a compass to take a bearing from that location to your intended waypoint and then get moving in that direction.
And before moving onto the next section, are you familiar with “Attack points”?
Attack points are features/locations to which you can hike quickly without the use of a compass. This can be a distinctive rock, maybe a bend in a river or something that stands out on a particular landscape. Instead of walking with hope, it’s worth using these attack points as a reference point and then measuring the distance between them.
Judging Time and Distance in the Outdoors
Judging the distance between two points is extremely useful in the outdoors. Most people hike at an even pace. If you know how long it takes to hike 100 metres, it’s easy to calculate how long it may take to hike multiple kilometres. However, it can take much longer to hike through marsh or unmarked areas so keep this in mind.
It takes practice to develop this skill and get better at calculating time and distance. As mentioned, you can learn these skills in a safe environment without having to worry about not getting out alive!
But what does this look like in the field?
I use my “pace count” when hiking in the mountains.
About Using Your “Pace Count” in the Field
One natural step is equal to a pace. You just need to know how many paces it might take you to walk 100 metres. You can do this by walking a measured 100-metre and count the number of steps you take and then turn around and walk back to your starting point while recounting this number of steps. The “pace count” is the average of these numbers but you should try to recreate the scenario (carry a backpack etc) and conditions (the terrain) in order to be accurate with this calculation.
You can then use this pace count to gauge time and distance in the wild. That being said, time and distance is often deceiving on the trail. It can feel as though you are hiking long distances due to challenging terrain or a heavy backpack. In reality, you might have hiked half that amount of time or distance. I think you get my point…
Have an Exit Strategy Before You Hit the Trail
There’s a lot to be said about common sense on the trail. Honestly, this is often your best way to ensure you don’t get lost. Likewise, preparation and precaution are key to staying safe. This is why you should always have a backup plan.
To be more specific, before hiking the trail, you should know exit points in the case that you might need to get off the trail. This can be a road, carpark or a trailhead that leads to a settlement of some kind. It’s quite easy to identify these exit points in Ireland because most trails or National Parks are reasonably close to towns.
3 Last Minute Tips for Navigation-Related Safety
1. Tell Someone About Your Plans
I’ve come across a lot of sad stories in my time hiking trails around the world. Many of these relate to missing hiker but there are just as many rescue stories. Many of these rescues happen because the hiker made sure to tell someone about their plans. This can mean a quick text or call can potentially save your life.
2. Slow Everything Down in a “Situation”
If you do get lost, remember that panic can cause common sense to jump out the window. Try to avoid this at all costs. Slow everything down so that you can take accurate readings with your map and compass. It’s important to check this more than once so you can make the right choices in getting back to safety.
3. Wear the Right Outdoor Gear
You really shouldn’t be hiking in the mountains without proper hiking shoes and adequate outdoor clothing. This also means you should always have your map and compass on hand along with a first aid kit and water at the very least.
I genuinely believe that common sense is the best way to stay safe outdoors. However, proper navigational skills are necessary for longer hikes or trips off-the-beaten path. A map and compass should be the first two items placed in every backpack. A basic understanding of how to use them is something fun to explore and not to ignore!